Pages

Showing posts with label crafting. Show all posts

Tuesday, July 24, 2012

"Thomas the Tank Engine" post round-up

diy thomas party
I hadn't planned on posting these cupcakes from my son's Thomas the Train first birthday party, because we all know I'm no baking expert, or cake-decorating expert.

But then a lot of people started landing on my blog by Googling variations of "Thomas the Train DIY Birthday Party" and the like, so I thought it might be helpful to share what we actually did. I also thought it was a good way to round up my previous Thomas posts...   diy thomas train birthday
My husband baked these cupcakes, and then we decorated them together. He made the cake batter from scratch, but we cheated and used store-bought frosting! We're kickin' it on the "Semi-Homemade" tip. The frosting was a white (so likely vanilla, buttercream, or creamcheese?) flavor from Pillsbury or Duncan Hines. I know, helpful.

We didn't use foodcoloring on the frosting, opting instead for Wilton frosting coloring (available at WalMart and Jo-Ann) in red, blue, and black to create gray, light blue, and hot pink red cupcake tops.

I sprinkled some with red and white sprinkles, some with red only, poked some Thomas the Tank Engine Party toothpicks, and placed sugar Thomas icing decorations on others. We bought the toothpicks, sugar decorators, and lots of other decorations from Party City. Some plates and cups were purchased from Target.

For our DIY Thomas the Tank Engine Smash Cake, we just picked out one of our smaller rectangular cake pans and backed it in there. Once it was baked, we cut a good-sized circle from the rectangle (pictured in the collage above). Husband frosted it with gray frosting and I used a Wilton black icing tube to draw Thomas' face on it.

Links to my other Thomas and Friends posts:


Friday, July 20, 2012

Thomas & Friends birthday party bunting (paper)

thomas the train bunting paper 1
I hadn't planned on making two sets of bunting for the young mister's birthday party, but when I saw this book for just a buck at the thrift store, I thought it should come home with us.
ttrainbook
It's one of those books that makes sounds... but this book was pretty old and beat up, so the sounds were less children's book and more creepy horror movie-- all scratchy and hard to hear.

I thought I could rescue it by giving it new life-- Thomas the Train Book Bunting! I used thrifted bias tape for the project as well.
thomas the train bunting paper 3
I actually made this one before the Thomas the Train Fabric Bunting, which is now hanging in his room. I decided that hanging this one too might be overkill, so... I'm actually going to disassemble this one and use it in a different project! This Thomas the Train book is getting more lives than a cat.

I used a fancy paper punch around the edges, which kinda gave it a Papel Picado feel.
thomas the train bunting paper 2

Thomas & Friends Book Bunting
Materials: Thomas the Train Book ($1 - thrifted), bias tape (.50 cents - thrift store), thread
Total cost: ~$1.50

Friday, May 4, 2012

Thomas & Friends birthday party bunting (fabric)

Here's some bunting I made for the LO's first birthday party! As I mentioned before, his party theme is Thomas  & Friends.

Not going to write out a tutorial, but here's the method I used:
  • I did some light math and determined how many triangles I wanted, how far apart, and how large they should be.
  • Based on those measurements, drew and cut out my Isosceles Triangle pattern.
  • Cut out twice as many triangles as I wanted to end up with, so that each would have a front and back.
  • Sewed down each of the longer two sides, right-sides together.
  • Turned them right-side out and pressed.
  • Pinned and sewed them into thrifted double-fold bias tape, one seam at the top and one at the bottom of the tape.
I used a red paisley fabric from Gramma's stash. I was hoping it would  give off a train engineer's bandanna vibe, but truthfully, it was the only red in the stash. I bought a yard of the only Thomas cotton that Jo-Ann's had (before I found these fat quarters), but some of it ended up getting used in the quilt anyway. Yellow bias tape was the best match I had, and goes with Thomas's painted on number "1".

It'll hang in his room when the party's over.

I made a paper bunting too (haven't taken pics yet), and the quilt is actually done (camera died with pics on the cam's "hard drive")... watch for both here soon.

Thomas & Friends Fabric Bunting
Materials: red fabric (free - stash), Thomas the Tank fabric ($9.99 with a 50% coupon ~ $5 - Jo-Ann), bias tape (.50 cents - thrift store), thread
Total cost: ~$5.50

Monday, April 23, 2012

On my Gramma

You know that bumper sticker, or license plate frame, that declares "She Who Dies With the Most Fabric Wins"?

My Grandma won. Sorry.

It wasn't hard for her. A near lifetime of collecting fabric, buttons, appliques, knitting needles, embroidery hoops, pattern books, ric rac and trim, thread... Well, kind of a lifetime, because she really did use it up. So when my cousin and I were clearing out her stash, we didn't come across any amazing vintage finds. We found recent stuff, because she was always crafting and using her stash. Even after she lost her home to foreclosure during the housing crunch, she was still attempting to make quilts in her cramped motor home that would become final place she lived.

In the late 70s and early 80s, I think it was, she owned a yarn and knitting shop downtown. I often wonder, as her oldest grandchild born in 1980, if I'm her only grand kid to remember it.

When I was a little girl, probably around 8 or 9, she worked at a local fabric shop. They held a sewing class for little girls, and of course Gramma had my cousin and I participate. We made pillowcases, one of the first things I ever sewed.

She was the fabric lady at our local WalMart. That was the job she held technically until she died, although she'd been on leave since the football-sized cancer next to her lungs sent her to the hospital months before.

That's one reason she comes up so often on this blog. Much of my knitting and sewing is stash-busting my Gramma's stash. And she taught me everything I know when it comes to knitting and sewing and crafting in general.

But even if I didn't inherit a large part of her stash (about three Rubbermaids of fabric, various notions, knitting needles, at least one Rubbermaid of yarn-- I even took a bunch of her clothes), and even if she'd never taught me anything, it's still her that I inherited my creativity from. She loved decorating her home with things she'd made and made over, long before DIY was a "thing" with countless mommybloggers mommyblogging about it. She toll painted, she  made cheese, she tatted, she made the BEST candy.

Don't get me wrong; she wasn't all about sewing, knitting, cooking, homemaking, and crafting. She'd mastered all of the things a woman of her era was expected to master, but was far from old fashioned. She loved to travel and did so independently. She loved books and even worked at a bookstore or two-- mysteries were her favorite, and again it's her I inherited my love of Science Fiction from. She wrote stories, and even full books that were never published. She was entrepreneurial and an excellent businesswoman. She'd even gone to school for accounting. And she did it all while wearing red lipstick. (I even created a pinboard with all of her interests.)

Of course, lots of people have Grammas or Nannas or Nonnies or Grams whom they love and cherish. But I especially miss mine, and can only hope she would like what I'm creating from her stash.

Tuesday, November 1, 2011

Project: DIY Nursery Letters

When I was a kid, I was always super disappointed whenever I perused personalized souvenirs. You know the ones; keychains, license plates, and shotglasses that come already emblazoned with common names. I could never find my name.

So now, I love the chance to personalize anything I can. That's carrying over to purchases for my son, too. So even though nursery letters are becoming pretty cliched, I still wanted to make some. In fact, since his first name is so short, I decided to plow forward into his middle moniker as well.

They're pretty straightforward, so I'm not going to insult your intelligence with a tutorial. I wanted the "cobbled together and collected from various sources" look, so they intentionally have different fonts and paint designs.

UPDATE: I've had lots of people landing here looking for ideas to DIY their own, so even though I didn't photograph a tutorial, here's a list of what I did (see below the new picture for a list of tools and materials):
  1. Shopped at local craft and hobby stores (and one big box chain!) for mismatched letters.
  2. Sketched out the letters on paper (see the new picture below), and drew designs on the letters so that I wouldn't have the same patterns too near each other.
  3. Came up with a color scheme, and just like the patterns, sketched it on paper so I wouldn't have too much of the same color too near each other.
  4. Lightly sanded the letter with a fine-grit sandpaper. I was mostly looking to smooth out the manufacturing imperfections.
  5. I considered priming them, but didn't! I got right to painting the base coat on each letter. Some took more than one to get the base as dark as I wanted it.
  6. Once they'd dried, either free-handed the next design layer, or started applying painter's tape. (TIP: paint the base coat over the painter's tape before changing colors. This'll keep the second color from seeping under the tape).
  7. Finished each one off with a layer of clear spraypaint! DUNZO.
DIY Nursery Letters
Acrylic craft paint on wood
Letters: From Richard's and WalMart, $1.99 - $2.49 each, approximately $18 total
Paints: On sale for 50 cents each at JoAnn (Purchased in Navy, Cobalt, Orange, White, Black, Yellow, Red, then mixed)
Foam brushes: $1.99 at JoAnn
Crackle medium: $2.49 (Used on letters "T" and "L")
Clear spray paint finish: About $3.69 at WalMart, KRYLON in Satin
Total project cost: Approximately $29

Tuesday, October 18, 2011

Roundup: Granny Chic

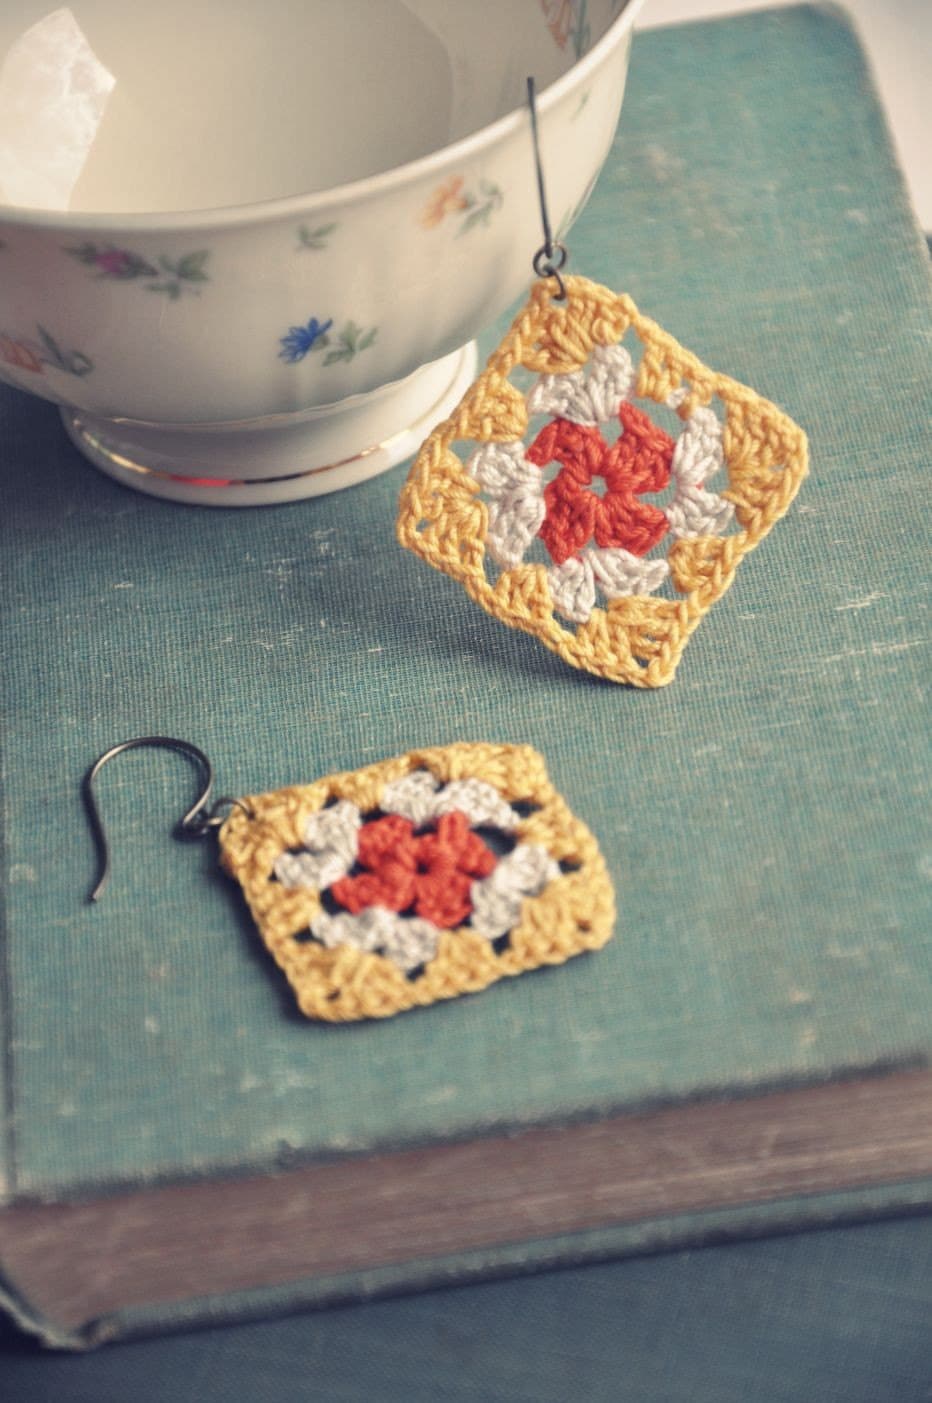
No explanation needed, I think. I just totally lurrrrve Granny Chic. Think cross stitch, doilies, and crocheted granny squares...

Source: bhg.com via Elisha on Pinterest


Tuesday, September 6, 2011

Butterick 5731: Kate Middleton's Wedding Dress

A dress in my Facebook feed caught my eye today. Butterick posted a wedding dress pattern that is clearly inspired by what will arguably end up being 2011's most famous wedding dress.

While the description for Butterick B5731 does not explicity say it's meant to copy K-Mid's Sarah Burton for Alexander McQueen, there's no denying it. Butterick even styled their model with a tiara and a similar bouquet.

There are some differences; Butterick 5731 has some weird flappy bustle that I'd leave off were I to sew this, and it's absent the long train that the Sarah Burton dress has.

While I don't usually condone plagiarism, I think in this case it puts the royal dress within reach for us commoners. It's not like you're going to the Berresyessa Flea Market and buying an obvious Louis Vuitton pleather knockoff. This is a sewing pattern in which you, or the dress maker you hire, is required to do all the work, and you have the option to buy the most expensive "Peau De Soie" or the cheapest satin. You can make it any color you choose, and there are even cup size options.

The absolute best part in my opinion: it's a Butterick, so you can likely snatch it up during a Jo-Ann sale for .99 to 1.99.

Saturday, August 6, 2011

How to display a beer coaster collection?

My sister Ariel is a big traveler and loves collecting beer coasters (like the ones pictured above from BuenaHelena) from places she visits.

Some time ago, we'd discussed her preserving them in resin so she'd have them forever. We brainstormed what she could use as a mold, and figured she'd need something to keep the ink from bleeding and suspending into the medium. That was a while ago.

Now, she has multiple shapes in her collection (making the mold situation more tricky) and has figured she really doesn't need THAT many coasters, if any at all. So she mentioned making a coffee table top. Good idea (I had similar plans for a vintage postcard collection), but, I had some other ones for her, all keeping with the resined-theme:
  • If she ever buys her own place, she can make them into a counter top for a breakfast bar.

  • If the resin wasn't too heavy, she could frame it and just turn it into wall art. The frame and resin would keep it from looking too frat house. This was her favorite idea.

I also Googled the topic and found this, which starts of good and ends on a facetious note. Still had some good ideas, though, including using them as postcards and luggage tags.

BuenaHelena, the blog the above picture is from, turned them into Christmas ornaments.

Do you have any ideas for an old beer coaster collection? If you've randomly stumbled upon this post, give us your ideas no matter how old this post is.

Thursday, April 1, 2010

Knitted Slouch Hat


Slouch hat, no pattern. I think it was size 10 29" circular needles? Maybe they were shorter. I don't remember how many stitches I cast on at the start, either, but I measured my head and multiplied by 4. Lion brand acrylic, after the ribbing it was 8 rows stockinette (brown yarn) and 8 rows garter stitch (teal). Increased every 20 stitches until desired slouchiness and then started a fast decrease every 8 stitches, finished on size 8 dpns (didn't have size 10 dpns).

Wednesday, March 31, 2010

How could you be so heartless...

This is my rendition of the Heartfelt Gaiter posted on Craftzine, and the last project my beloved Grandmother helped me on before she died on March 12th. I finished it in February, and it's my first ever attempt at cableing. The project calls for size 15 16" to 24" circular needles, but I only had 29" needles. I ended up adding an extra cable repetition to the pattern to accomodate my long needle, good thing I did because otherwise it would not go over my head. Clearly my gauge was off... (I never checked it). I used two strands of Lion Brand acrylic. I also STILL need to weave in those ends!

Tuesday, March 30, 2010

Giddyup Cake

 
I made this horse head cake for my mom's birthday.

She's a paint horse. You can see I just sort of slathered the frosting on with a spatula and butter knife as opposed to piping it on. She's based on this cake, and I for the most part followed that template when I cut the two cakes up and pieced them together, but when it came time to decorate the cake, I took some liberties. I left out the halter, used pretzels instead of licorice for her mane, and used M&M's for her eyes and notril. I also used used a rectangle pan for parts C & D instead of a square pan, which meant less wasted cake.

As cake decorating goes, I'd probably call it a Fail-- a cake only a mother could love. Both my brother and I though the cake looked more like a mule than a horse. But mom sure liked it and that's what matters!
Related Posts Plugin for WordPress, Blogger...